ESO Vaults of Madness: Dungeon Explained
By Jack O'Dwyer

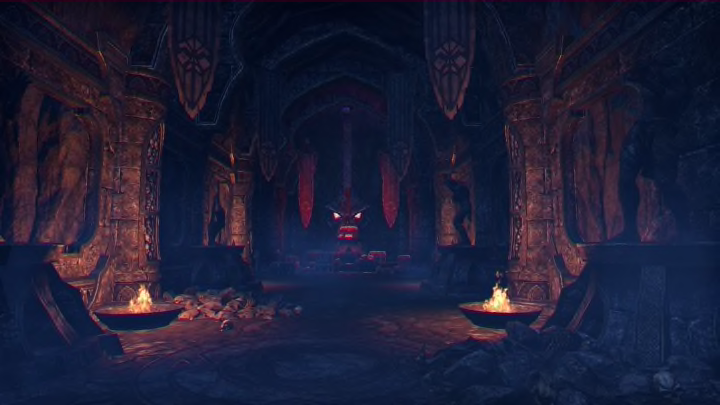
The Elder Scrolls Online (ESO) Vaults of Madness is a four-person dungeon located in the Oblivion plane of Coldharbour. There, in the wasteland ruled by none other than the malignant Daedric Prince, Molag Bal, heroes are tasked with helping Gasteau Charmond find his friends and escape the deadly construct of the Mad Architect: the Vaults of Madness.
The dungeon, itself, is extremely straightforward. Players are led from one room to the next with each major area containing one boss. The final boss is the Mad Architect, himself, located at the very end of the instance. It's recommended that players are at the maximum level or higher before entering.
The sets found in Vaults of Madness are: Worm's Raiment, Oblivion's Edge, Rattlecage, and the Grothdarr Monster set. Note that the latter-most set will only drop while playing on Veteran difficulty.
ICYMI: Stonethorn is the next DLC coming to ESO and will continue your journey through the #DarkHeartOfSkyrim. Stay tuned for more details – and be sure to check it out on PTS next week! https://t.co/04RT9TDKd5 pic.twitter.com/c54vDQlbpp
— The Elder Scrolls Online (@TESOnline) July 11, 2020
ESO: Vaults of Madness Bosses
Though the Undaunted pledge will only task you with killing the four major bosses, there are actually eight bosses in the dungeon, total.
The Cursed One
This is your warm-up. The Cursed One will summon skeletal adds and attack with frost damage. The real mechanic to watch out for here is Drain Life. When channeling Drain Life, all damage done to the Cursed One by the party is reflected onto a chosen party member. If the party is looking to complete a no-death run, all member should cease attacks for the duration of this mechanic.
Ulguna Soul-Reaver
Ulguna is your first major boss, located on the circular platform in the center of the first large room. She is a typical daedric Harvestor and operates as such. Ulguna has three major mechanics: an unbreakable levitation of a party member, a fire cone, and healing orbs.
Tanks should draw her fire away from the rest of the party while DPS prioritize healing orbs whenever they appear.
Death's Head
Death's Hand is a Bone Colossus that the party will encounter in the second room after Ulguna. It comes with the standard mechanics: a charging move with knockdown, fontal cone slam, exploding skeleton adds, and poison damage-over-time (DoT) runes.
Tanks should keep it closer to the walls and columns so its charged attack won't be as lengthy. Meanwhile, DPS may want to take down the adds before they can explode.
Grothdarr
Grothdarr the Flesh Atronach is the next major boss. His mechanics are extraordinarily simple. All players need to do is avoid the lava as it moves around the platform and keep an eye on the Tank in case Grothdarr's overhead attack stuns them.
Archaeraizur
This daedroth can be found accompanied by two dremora mages in the next room. Like all daedroth, Archaeraizur breathes fire and summons area-of-effect (AoE) damage during the fight.
DPS should focus on the mages first before going on to help the tank with the boss, itself.
The perfect companion for traversing the mountains of Skyrim: the Yorgrim River Ram mount is now available in the Crown Store. pic.twitter.com/HOqkgbAwpd
— The Elder Scrolls Online (@TESOnline) July 9, 2020
Ancient One
The Ancient One is a daedric Watcher located in the same room as Iskra the Omen. Players will encounter the Ancient One, first. In addition to the usual Watcher combat mechanics, the Ancient One has an AoE attack that is prompted by low health.
All party members should be watching to avoid the AoE while the healer attempts to keep them topped up on health. Be sure not to make either roles' job harder than it needs to be.
Iskra the Omen
Iskra is the next major boss—a daedric titan this time. While they may look like dragons, there is no reason to be intimidated. It's surprisingly easy to predict and avoid its attacks. Iskra has a bad habit of staring directly at the player it means to lunge at.
Iskra's two main mechanics are a leap attack and a wall of fire that will be directed toward a party member at random.
Mad Architect
The Mad Architect is the final boss of this dungeon. His story is a rather tragic one—betrayed by his colleague, our friend, Gasteau, and forced to watch his designs be plagiarized without proper credit. He turned to the daedra for help and, well, here we are.
The Mad Architect takes the form of a lich and performs as a stationary boss. This means there may not be as much moving around necessary to defeat him. He summons adds (Summon Undead), like the previous bosses, a localized lethal AoE (Undead Legion, Claim the Dead) and snare (Deathly Grasp), lethal telekinetic attack utilizing the windows (Obliterate), and a high-damage ranged attack (Grinning Bolt).
Obviously, the Tank should keep the boss' attention and take as many of the ranged hits as possible. DPS will likely be able to stand on the outskirts of the melee range to evade his AoEs at a moment's notice. His summoned adds are non-lethal and can be ignored if the party can burn him down quick enough.